Living Room Progress
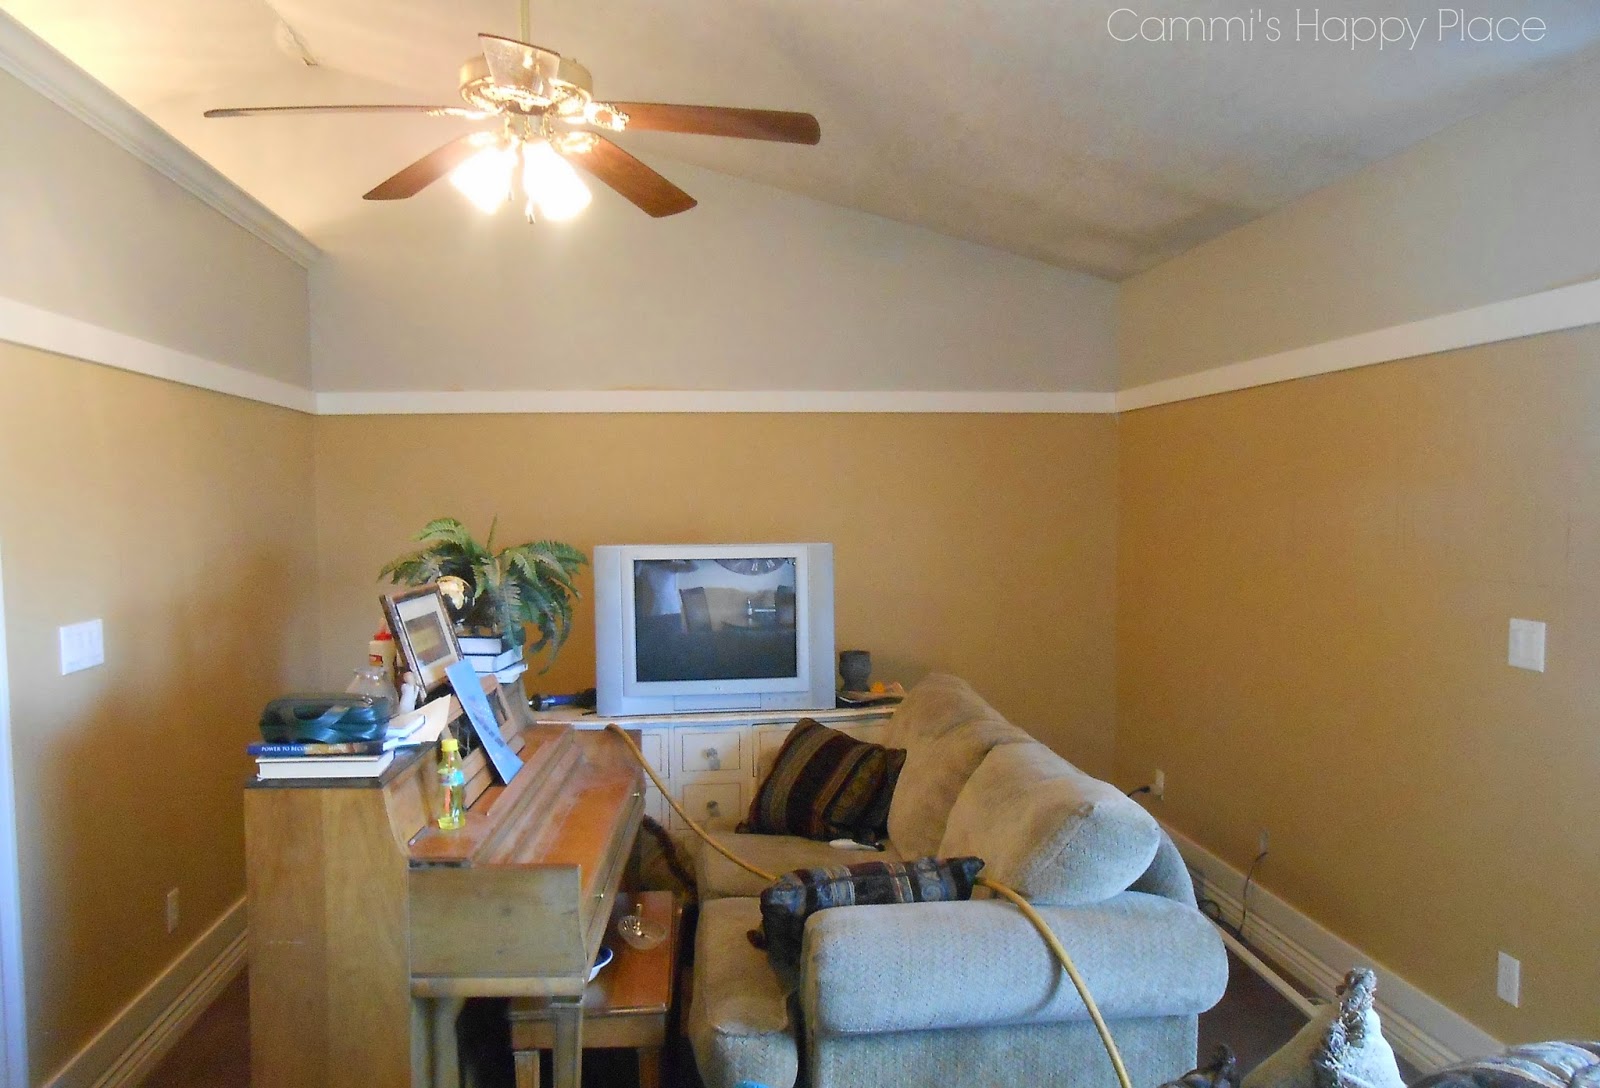
Let’s have a quick reminder of what my living room started out like..
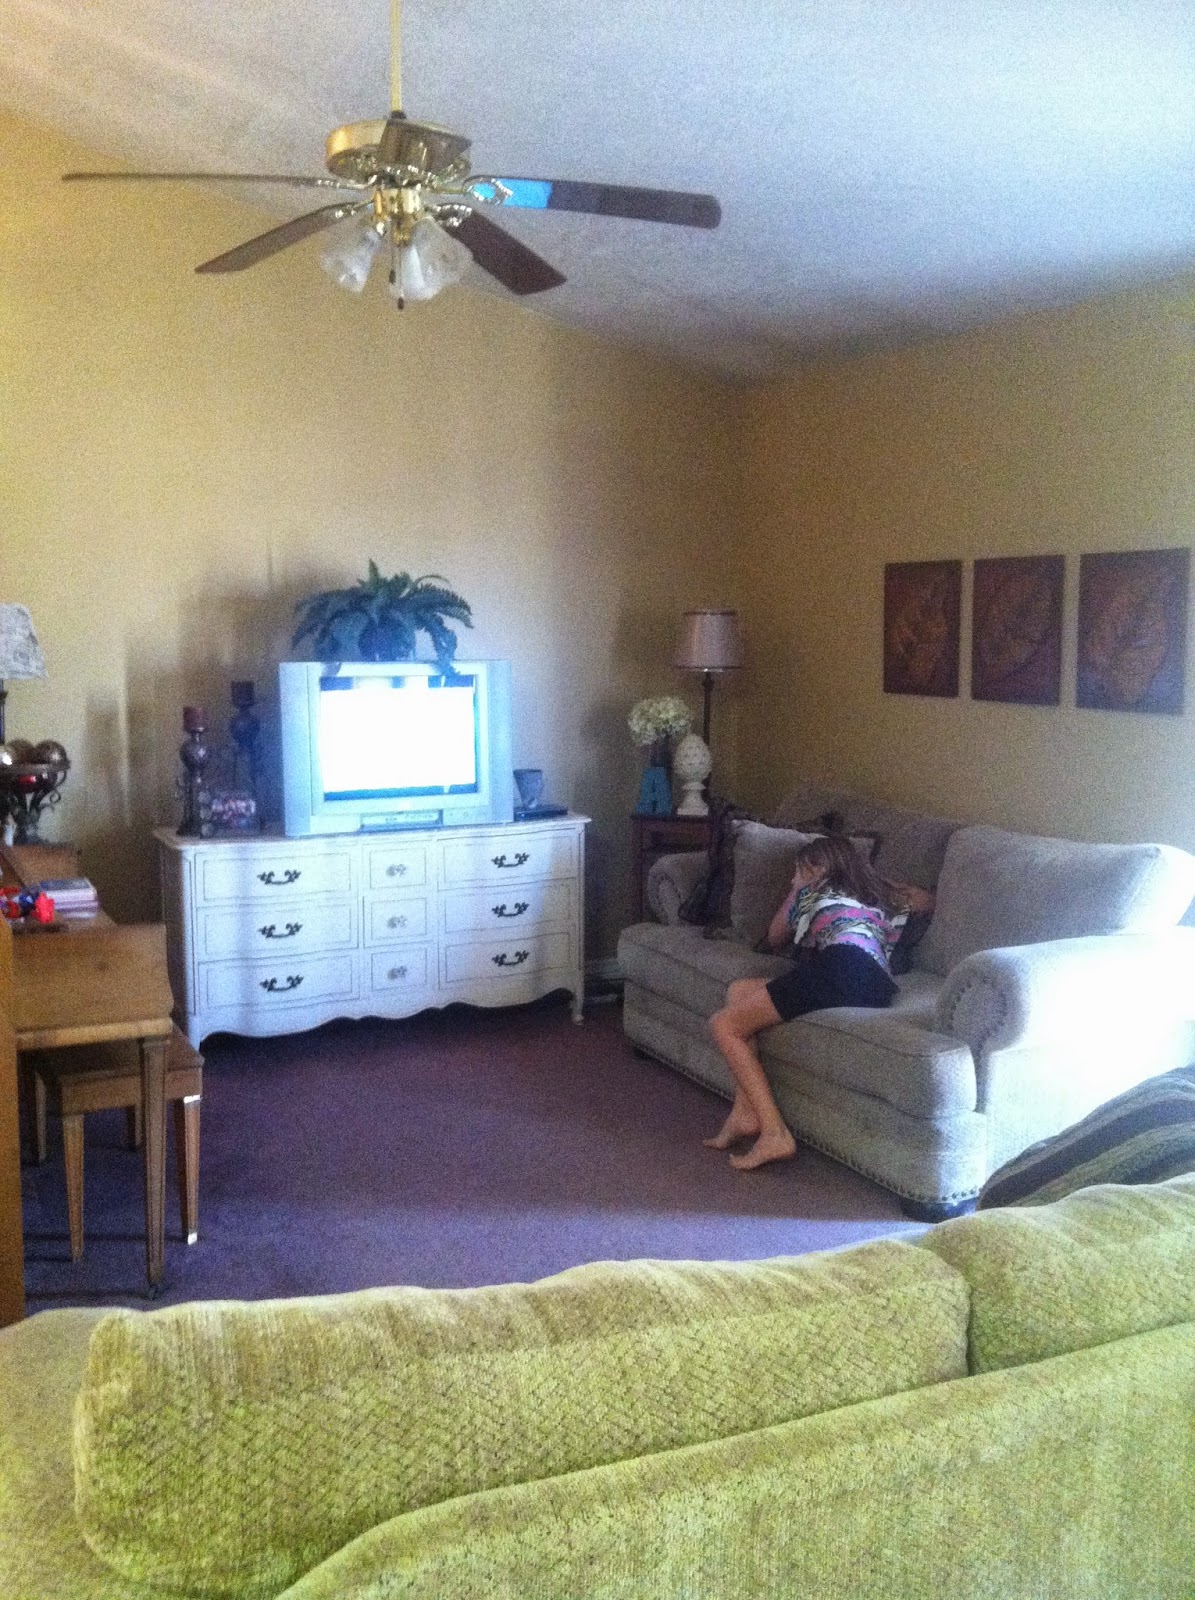
Progress is well under way here on the living room project! Oh how I love a good project! Here’s what has happened so far.
I’ve brought the paint up and over the dividing wall and painted to where the trim will meet.
I’ve brought the paint up and over the dividing wall and painted to where the trim will meet.


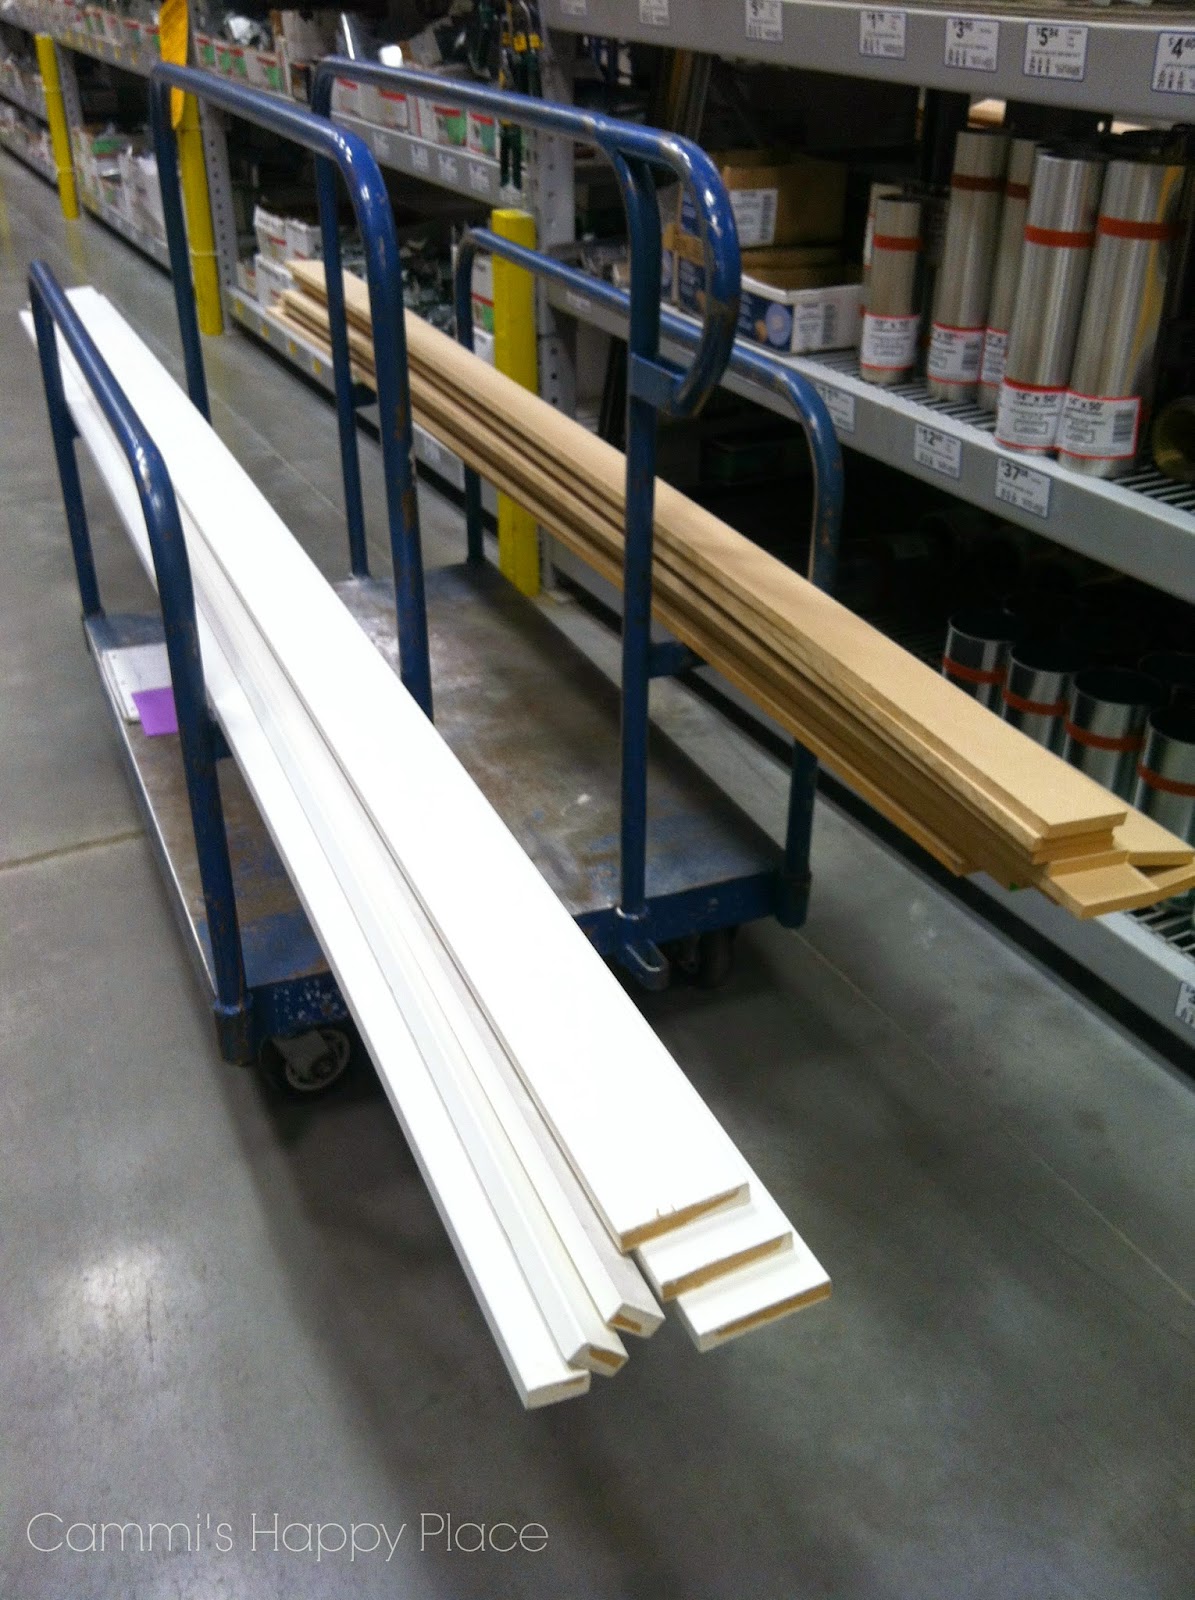
All of my supplies I got at Lowe’s. I was really debating what to do with the baseboards, I wanted to beef them up but wondered how I would do that. I didn’t really like the idea of ripping all my existing baseboards out and starting over.. too much work. So after much deliberation and lots of research, I decided on a really simple 4″ baseboard like this one:
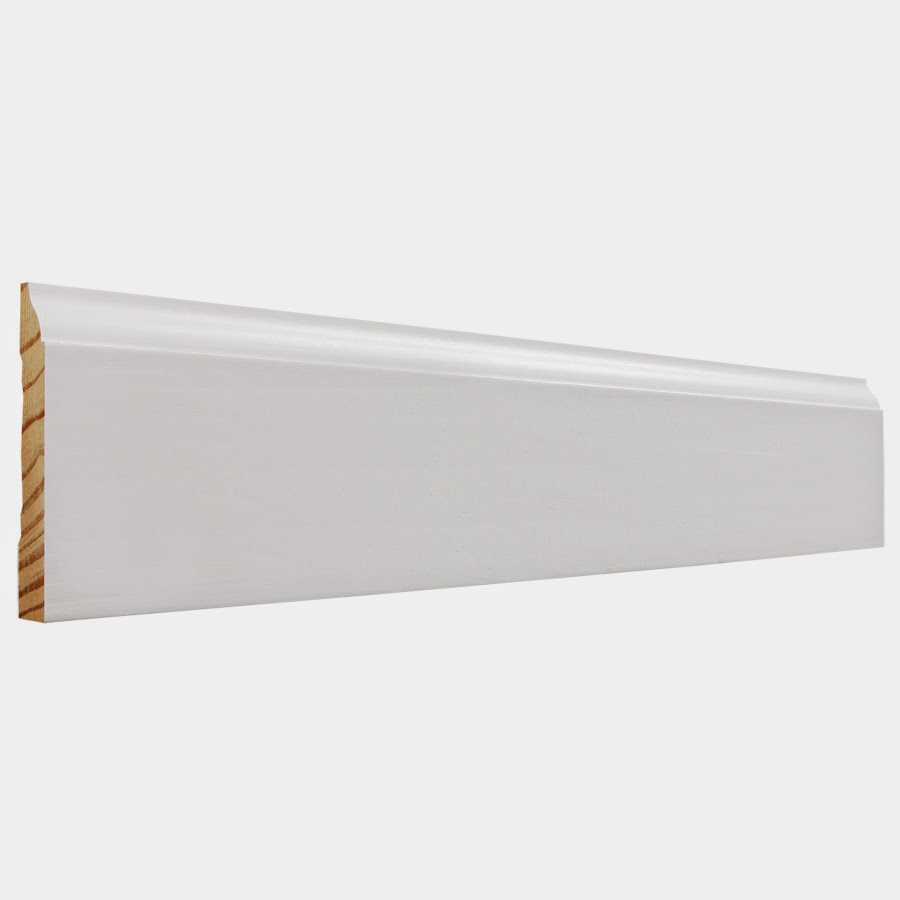
I flipped it upside down so the top would be meet up better with the existing baseboard.

And I love it!
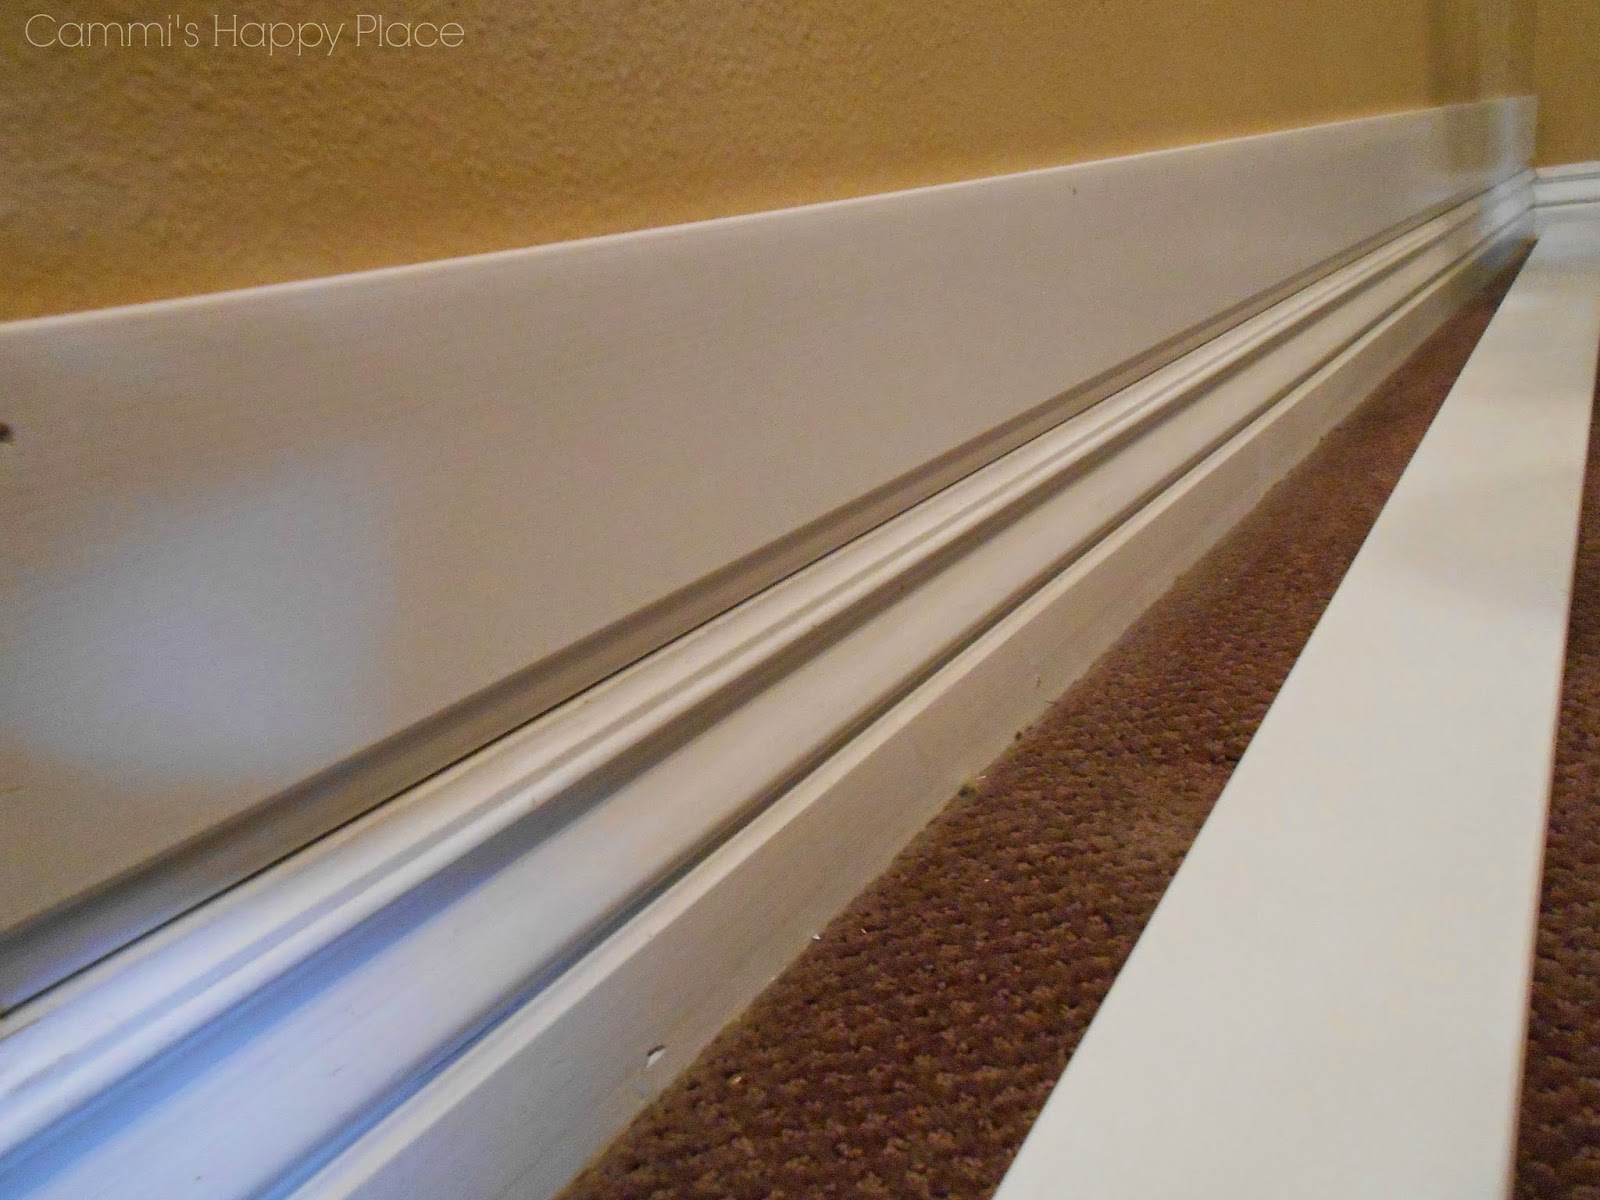
It adds just the right amount of height that I was looking for and really brings weight to the entire project.
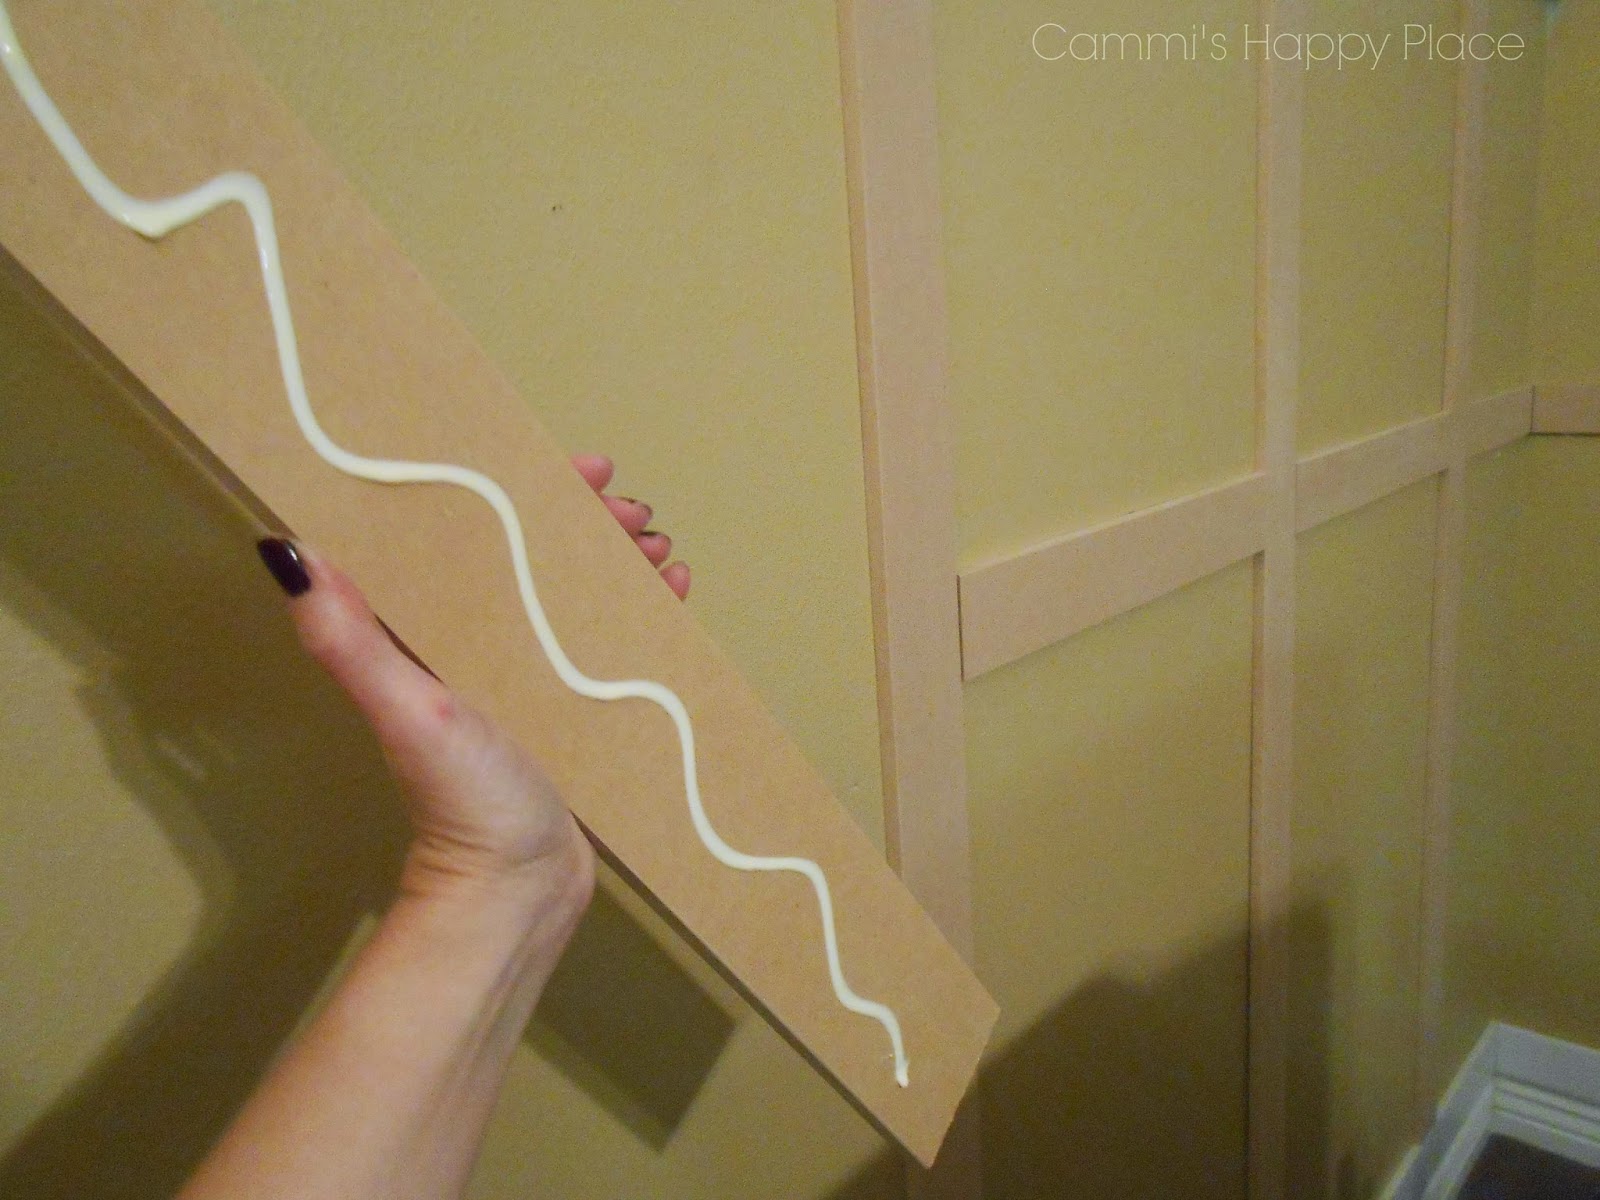
I measured the distance from the base to where I wanted the top of the trim, drew a level line measuring every foot or so, and then glued and nailed a plain 4″ board all along the wall.
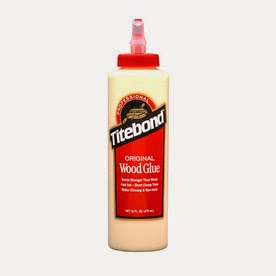
The reason I used nails and glue, is because I knew much of this trim project would not be anchored to studs, and the glue gives it extra reinforcement. I glue I used was Titebond wood glue click HERE.
It worked great!

Once the base and the top were done, it was time to move onto the fun part!
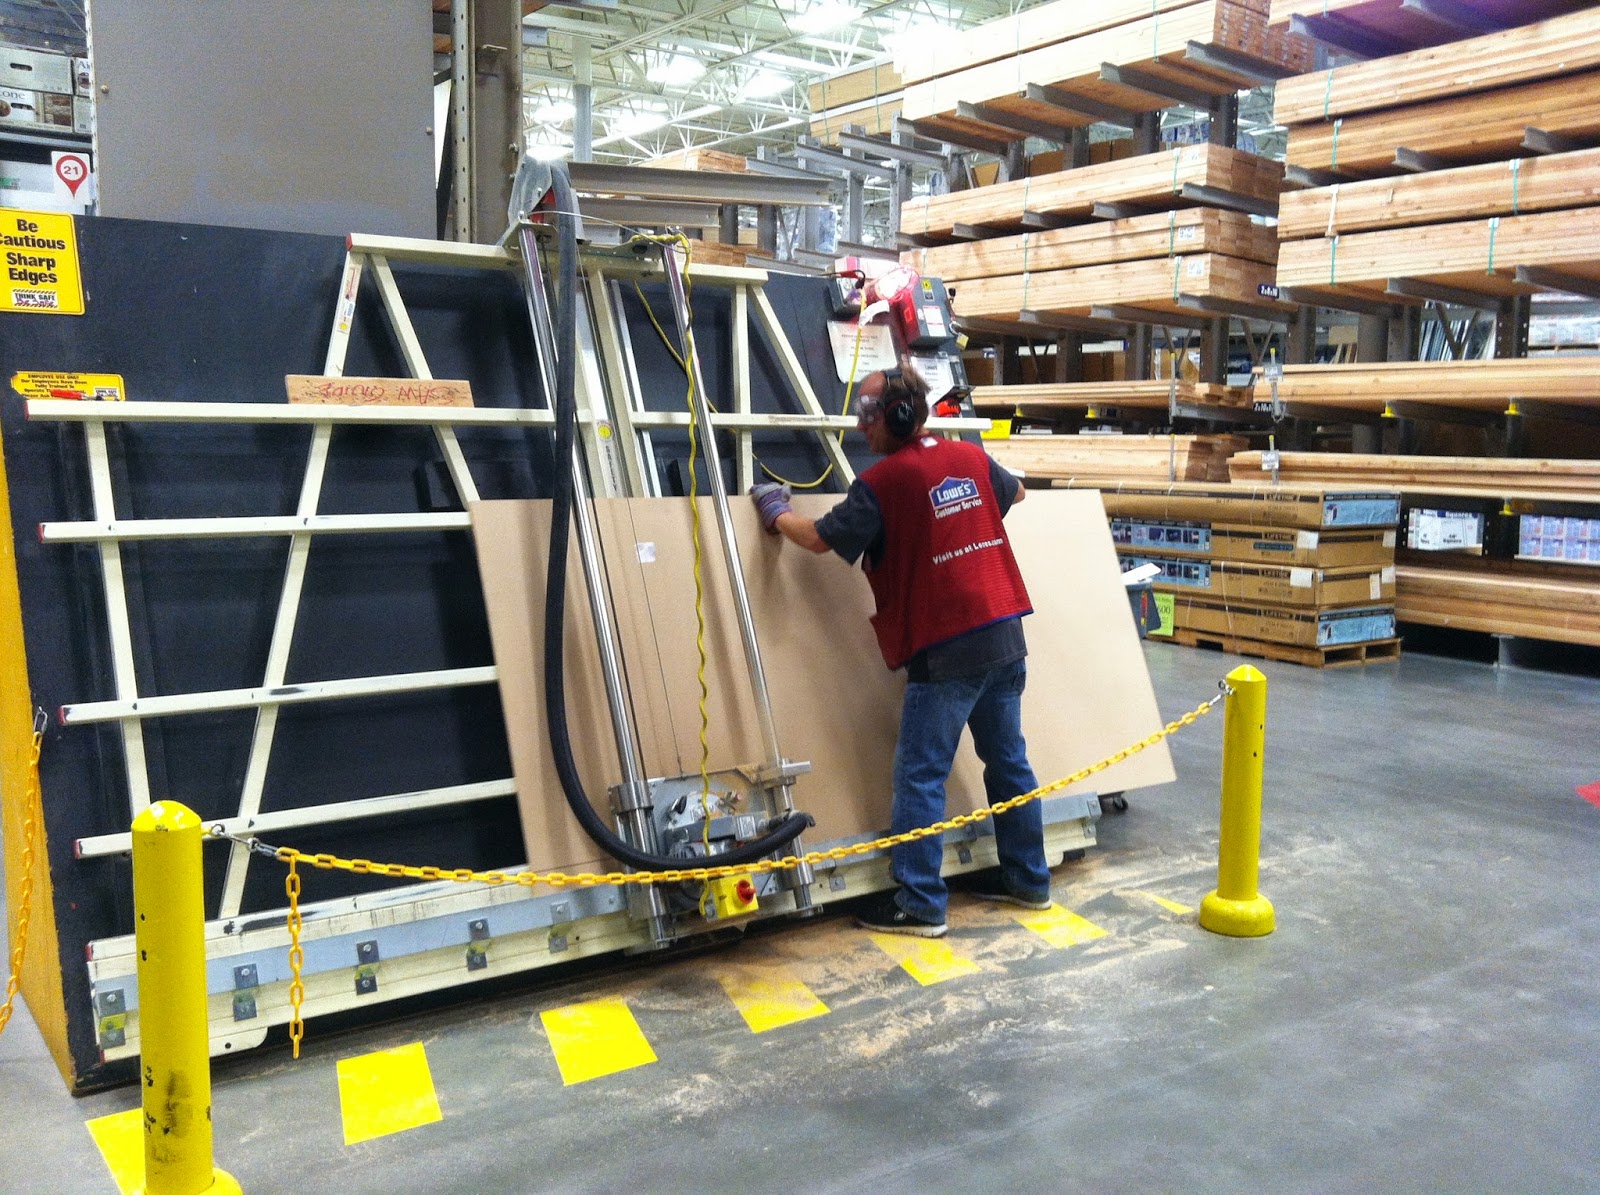
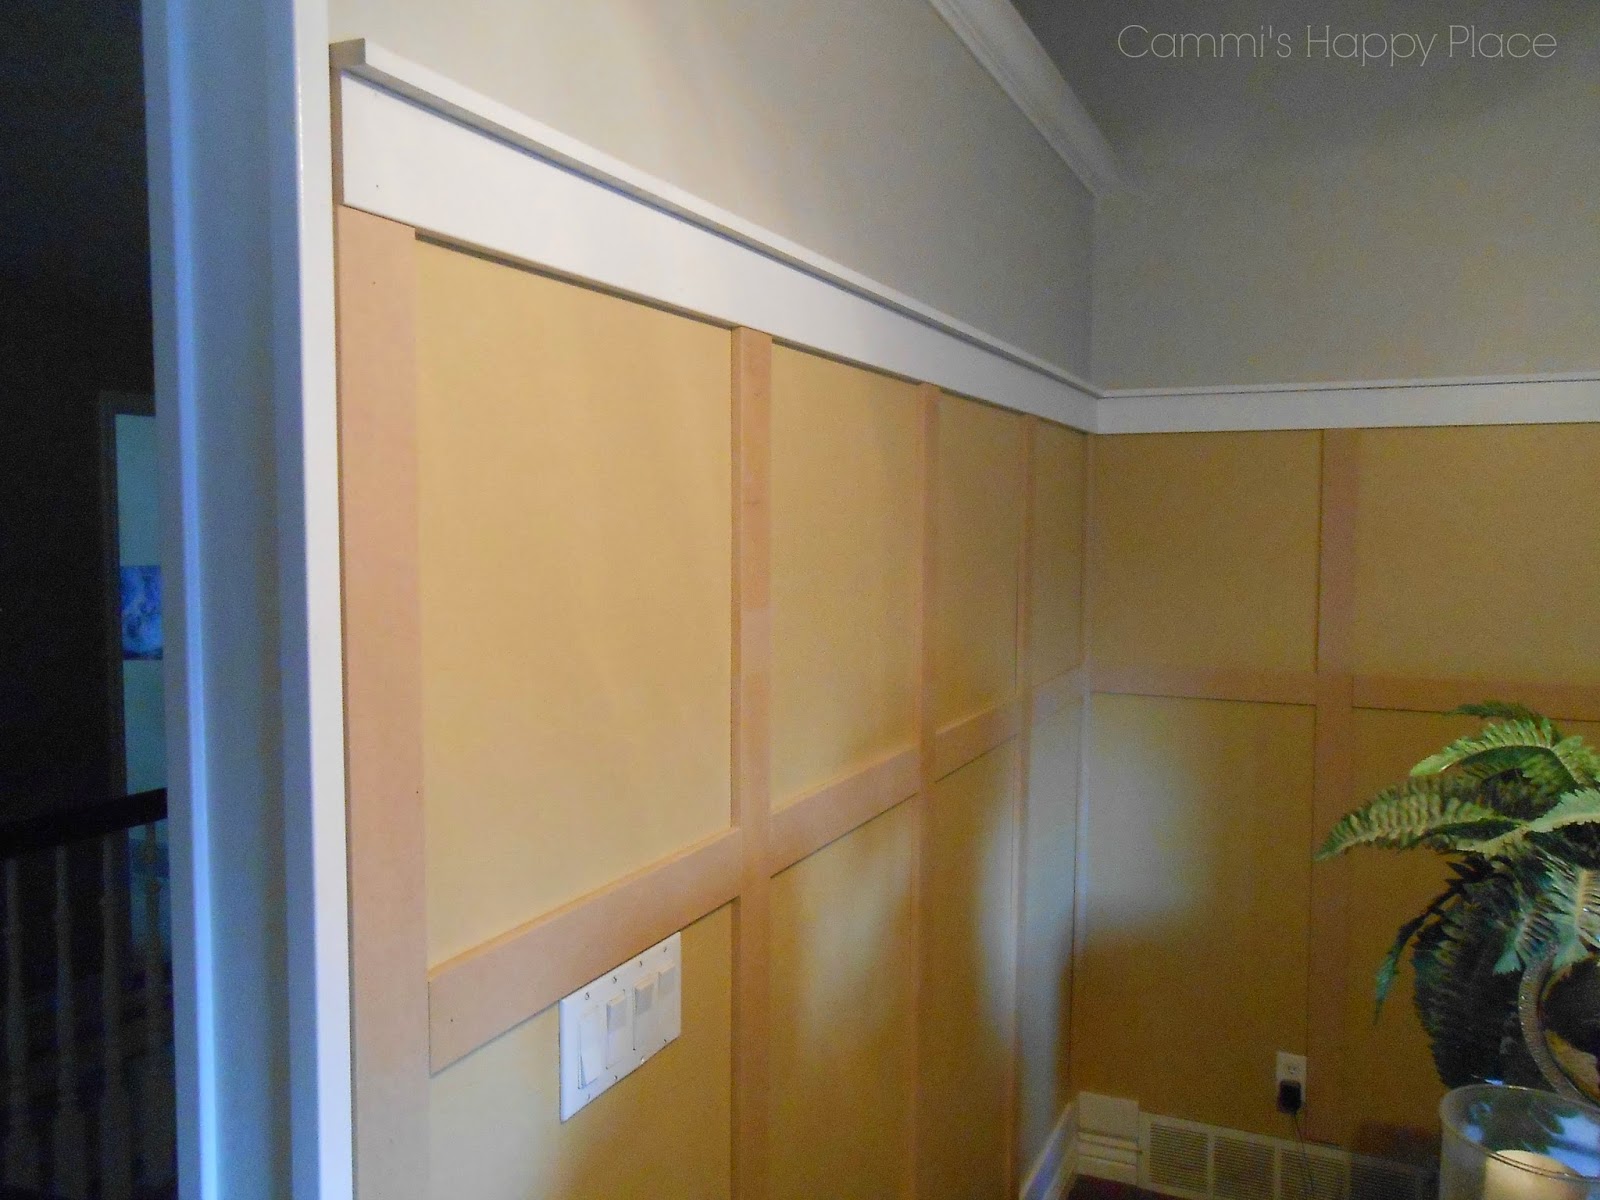
For the trim I used an 8X5 ft sheet of 1/2″ MDF and had the guy at Lowe’s cut it into 3″ strips for me. I thought my miter saw was cool..this guy’s saw is the ultimate!!!

I measured every 24″ and drew a vertical line where the center of each board would go. Then, I used the same wood glue and fixed it secure with nails. Once the vertical boards were up, I began cutting my horizontal boards and added them about 22″ from (the bottom of) the top trim piece. Does that make sense? I just eyeballed it to decide how big I wanted my panels to look and decided 22″ was my personal preference.
I capped the top trim off with a little piece of 2″ to give it a nice finished look.
The same stuff that I used on my stairway wall in this picture below.

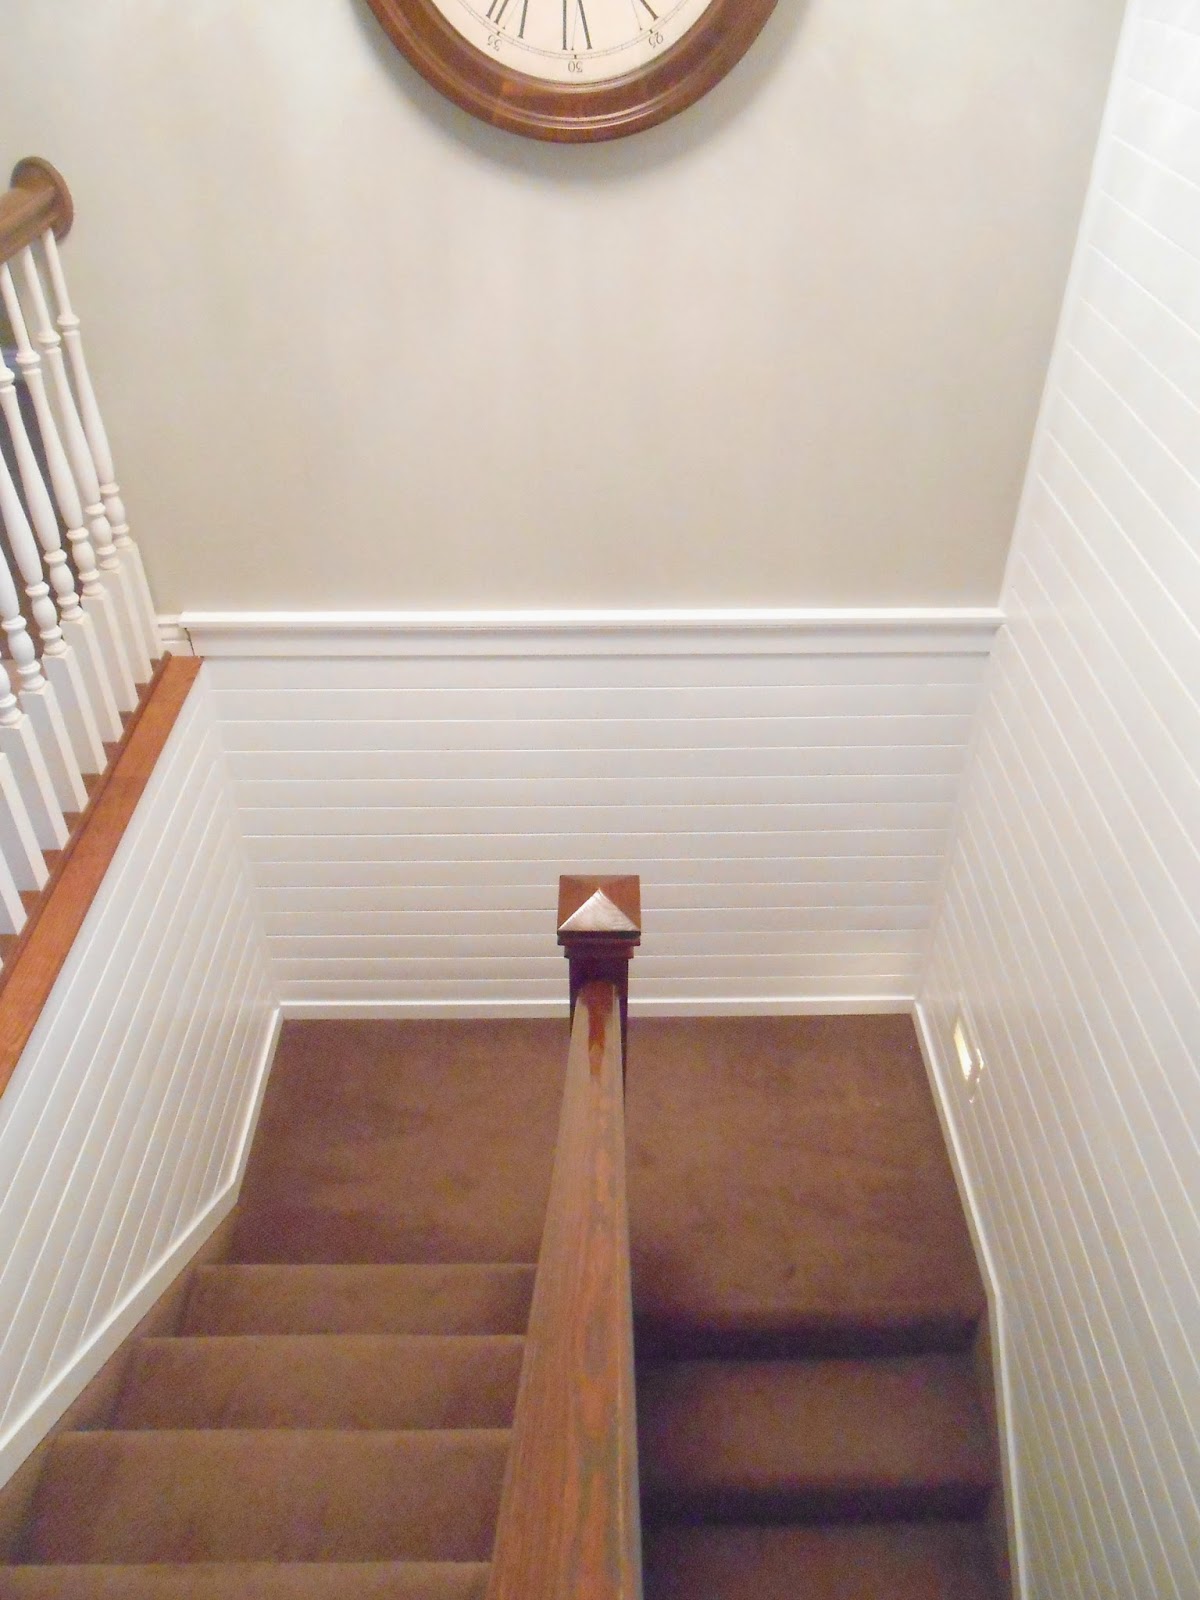
(More about my stairway project HERE.)
Back to the living room!!
Just look how great it is looking!!!
At this point I think I was beginning to drool from the mouth…
At this point I think I was beginning to drool from the mouth…

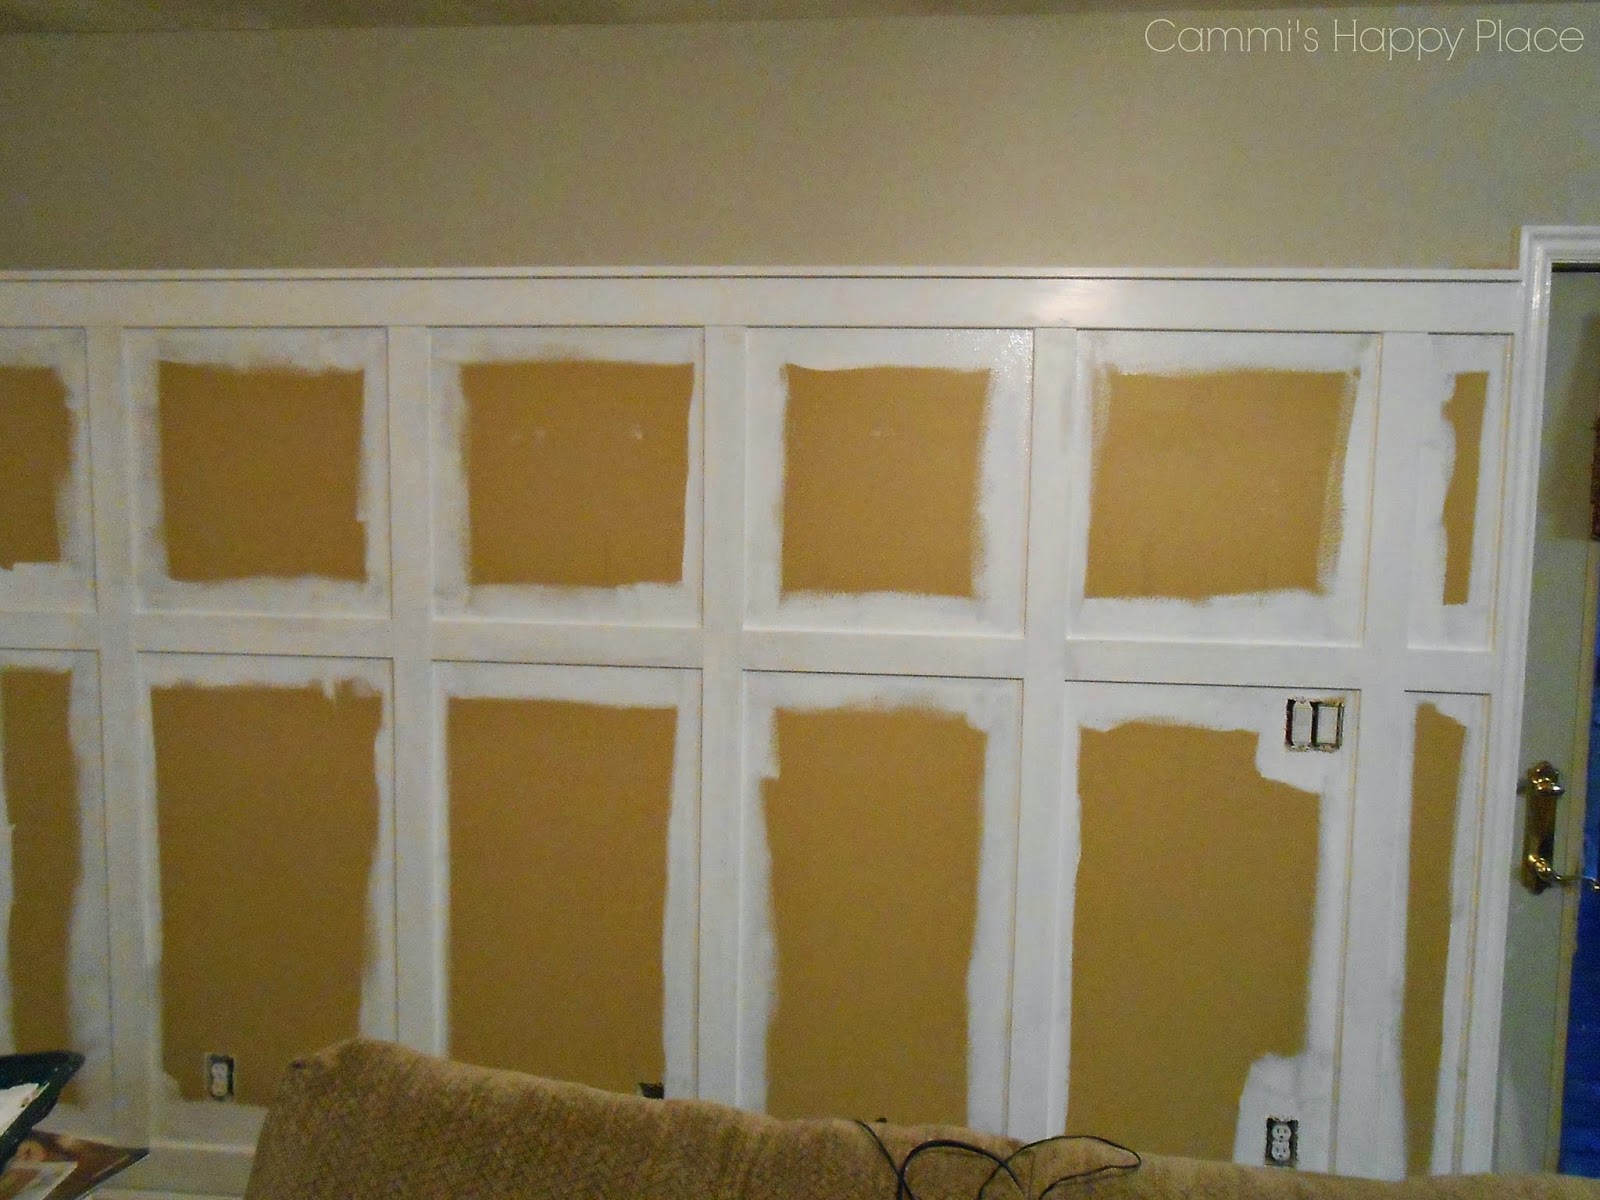
On to nail holes.
I found the best EVER spackle and wish I had known about this stuff when I started my other projects! Dry Dex, where have you been all my life? There are some seriously bad spackling products out there, but this is a dream!
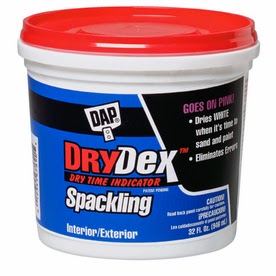
I love how it goes on pink and so smooth, then turns white when it dries. Once it dried, I gave it a good sanding and started the painting process.

Oh my heart is a’flutterin! Check back to see the finished product!